

Woo hoo! Chocolate and raspberries together! This recipe may or may not be exciting to you, depending on how deep your obsession with chocolate and raspberry combos runs. Word of caution - my obsession runs deep.
I have a recipe for a flour-less chocolate cake that is my go-to if I want to make myself seem more adept at baking than I really am. Everyone always oohs and ahhs, and thinks it's the fanciest thing ever. Which of course it is. But when I saw this recipe in The Best of America's Test Kitchen at the beginning of the year, I instantly wanted to try it out.
It's a little time consuming, if only because of the steps. If you have a small kitchen like myself, this becomes even more true, as I have to do each step one at a time to save space (and not make ginormous messes, which I will end up doing anyway).
I also had a minor freakout when my food processor lid would not click shut, and I couldn't for the life of me figure out why. I was on a time crunch and practically in tears flailing around my kitchen. Pathetic, I know. I then decided that my only option was to put the food processor away, use a blender, and hope for the best. It worked - sort of. Then I tried the food processor again and it worked like a charm. Like we never had a fight in the first place. I have no explanation other than I am losing my mind.
But in the end, the outcome was simply wonderful. A rich, moist chocolate torte with the slightest hint of almond, working fabulously together with the fresh raspberries and jam. It's decadent. Eating it makes you feel like you're someplace way fancier than your dining room table. Unless, of course, your dining room table is super fancy to begin with.
I served this for my parents this past weekend and they loved it. Some freshly made whipped cream is a lovely accompaniment, but not necessary.
I hope you enjoy!
xo
nina
For the cake and filling you will need:
8 ounces bittersweet chocolate (I prefer to use bittersweet chocolate chips, makes the melting process easier)
12 tablespoons unsalted butter, cut into 1/2 inch pieces
2 teaspoons vanilla extract (I tend to use more, but that's just me)
1/4 teaspoon instant espresso powder
1 and 3/4 cups sliced almonds, lightly toasted
1/4 cup (or 1 and 1/4 ounces) flour
1/2 teaspoon salt
5 large eggs
3/4 cups (or 5 and 1/4 ounces) sugar
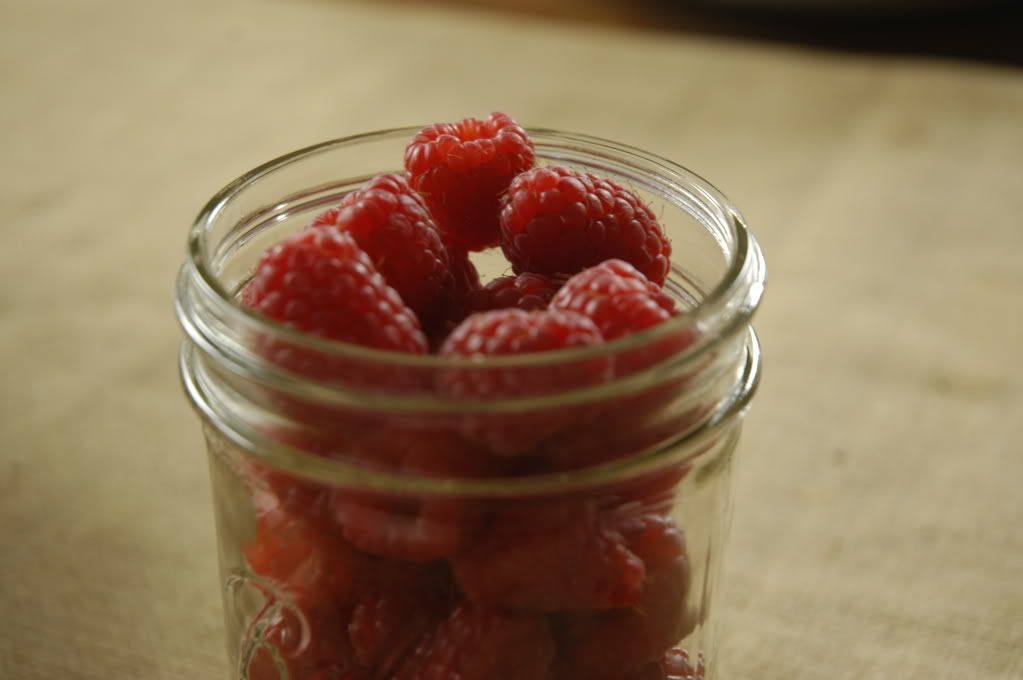
2 1/2 ounces fresh raspberries
1/4 seedless raspberry jam
For the glaze you will need:
5 ounces bittersweet chocolate (again the chips come in handy here)
1/2 cup plus 1 tablespoon heavy cream
Directions:
This makes one, 9-inch cake, serving
1.Line bottom of two 9-inch round cake pans with parchment paper. Melt chocolate and butter in a large bowl set over a saucepan filled with 1-inch of simmering water. Or you can just melt it right in the saucepan which is what I do.
Melt until smooth, remove from heat and let cool for 30 minutes. Then stir in the vanilla and espresso powder. At this point you will also want to preheat your oven to 325 degrees and adjust an oven rack to the middle position.
2. Pulse 3/4 cup almonds in a food processor until coarsely chopped - set aside to garnish the cake later. Process the remaining 1 cup of almonds until very finely ground (but don't pulse too much because you don't want to make almond butter)! Add the flour and salt and pulse until just combined. Transfer the almond mixture to a bowl. Using the empty food processor, process all of the eggs until doubled in volume. Add the sugar until combined. Use a whisk to gently fold the egg mixture into the chocolate - leaving some egg streaks. Gently whisk in the almond mixture until just combined.
*Note, I feel pretty strongly that you could make this cake entirely gluten free by omitting the flour and that the result would be more or less the same.
3. Divide batter between cake pans, smoothing the tops with a spatula. Bake until a cake tester comes out with a few moist crumbs. This equaled to 16 minutes in my oven, so I'd say anywhere from 13-17 minutes. Let the cakes cool completely on wire racks. I also placed mine in the fridge after they had cooled a bit to make them easier to handle.
4. At this point the recipe calls for cardboard rounds the same size of the cake pans. I am far too
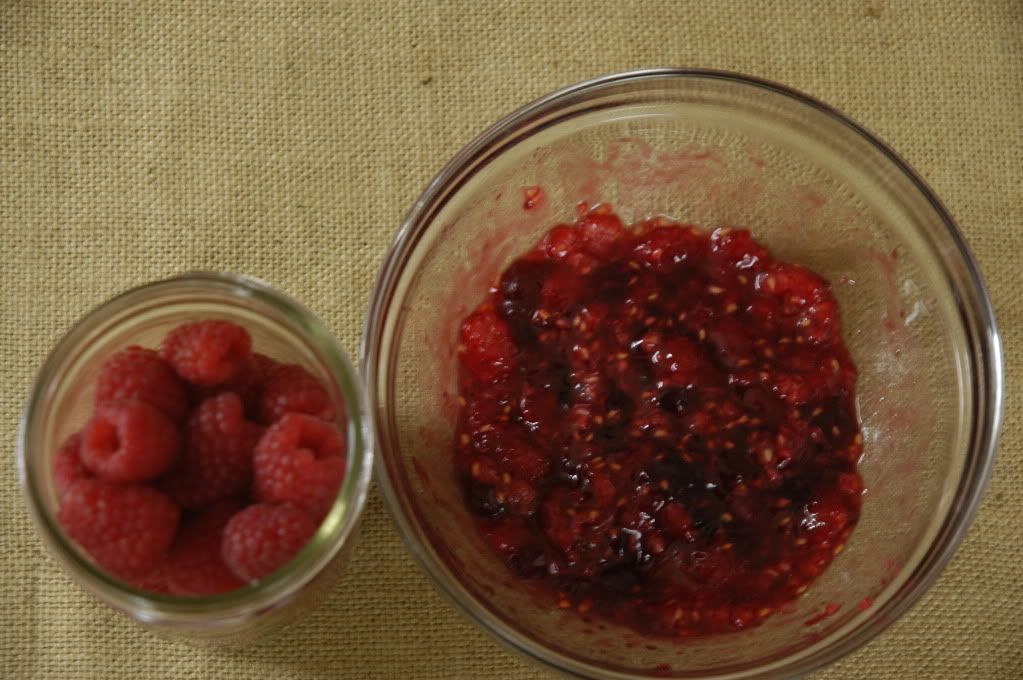
5. Place 1/2 cup raspberries in a medium sized bowl, mash with a fork. Mix in the raspberry jam. Spread this mixture evenly onto the cake layer. Top with the second cake layer.
6. Now comes the fun part - you get to glaze the cake! To make the glaze, melt the chocolate and cream in a saucepan. Stirring occasionally. Remove from the heat and whisk until smooth. Pour the glaze over the entire cake and with an inverted spatula, spread the glaze around. I opted to glaze the sides too which made for quite a mess, but that's neither here nor there.
7. Gently press the reserved chopped almonds onto the side of the cake (admittedly, having the cake on cake rounds would have made this step easier, but like I said, I am way too busy and important to be dealing with cardboard cutouts).
8. You're almost done! Arrange individual raspberries around the cake however you choose. Refrigerate until the glaze is set and then eat and enjoy!
0 comments:
Post a Comment