
Time.
So much time has passed, and yet it feels like an instant. So much in my life has changed, yet so much remains the same, and right now, as I am busier than I have ever been - working, a new baby, trying to balance this oh so delicate act of mom/wife/sister/daughter - I find myself drawn back to this space. I find myself needing a creative outlet, of needing something that's mine.
So just like that I am back. Ready to reflect more, maybe bake a little less, but still laugh plenty.
And even though I know there aren't many out there to hear me right now, I say these words out loud just the same.
I'm back!
Slider
December 12, 2014
April 15, 2013
The Power of Handwritten Notes
This post doesn't have any pretty pictures, or even a recipe. I am not even sure it has a purpose. It's simply about something that I love.
I love handwritten notes. They are like little pieces of someone that you can carry with you. Bits of history. Tokens of love and affection that don't even begin to compare to emails or re-tweets, or any other form of digital communication that bombards us on a daily basis.
Google search results tells us in a thousand different ways how important a hand-written note is for the post-interview follow-up, for doing business, or attracting donors to our worthy causes. In other words, it's a great way to get something we want. But what about a simple note just for the sake of a note? To let someone know that we love them, that we're thinking about them, that 'hey, you matter to me?'
There are a lot of different ways that we can share words with one another, and of all the
wonderful things that can be handwritten, one of my most favorite of all is
recipes. I have a shortbread recipe passed down from my great-grandmother, to
my grandmother, and now to me. It’s written on a tiny 4x4 square piece of paper,
and I have rewritten it in other places a dozen times to make sure that I don’t
lose it, but the original is tucked away in my recipe drawer (yes drawer) for
safe keeping.
That’s the power of the hand-written note. It’s the preservation
of something so much more powerful than the words themselves. I'm not saying handwritten notes are going to save the world, but if you have the time, take an extra minute to write someone you love a little note. Let them know how much you care about them. Send a friend you haven't seen in awhile a cute little card or letter. I know they will love it!
xx
nina
xx
nina
October 31, 2012
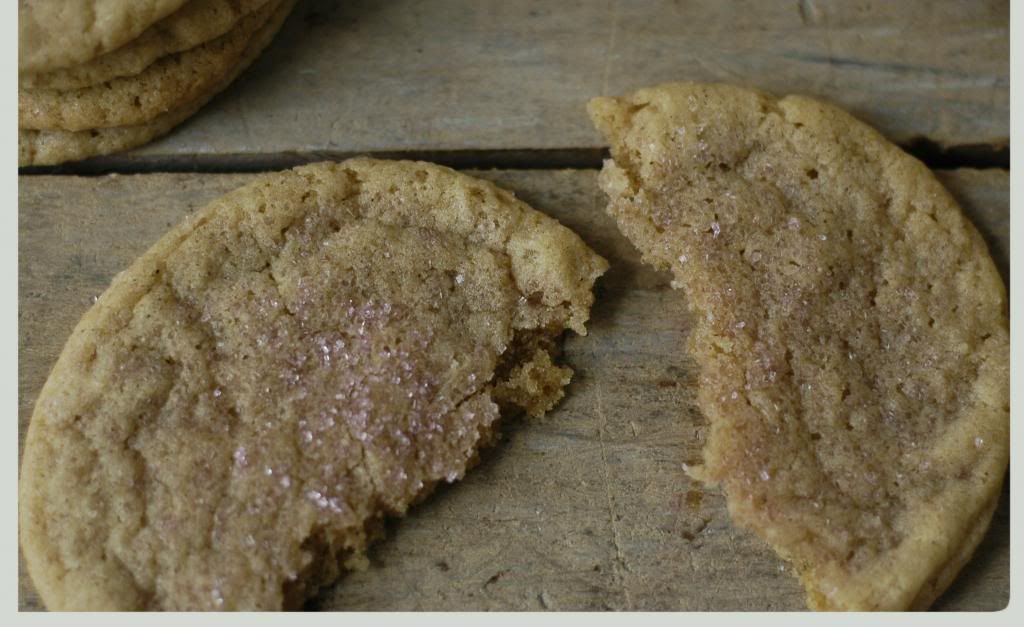
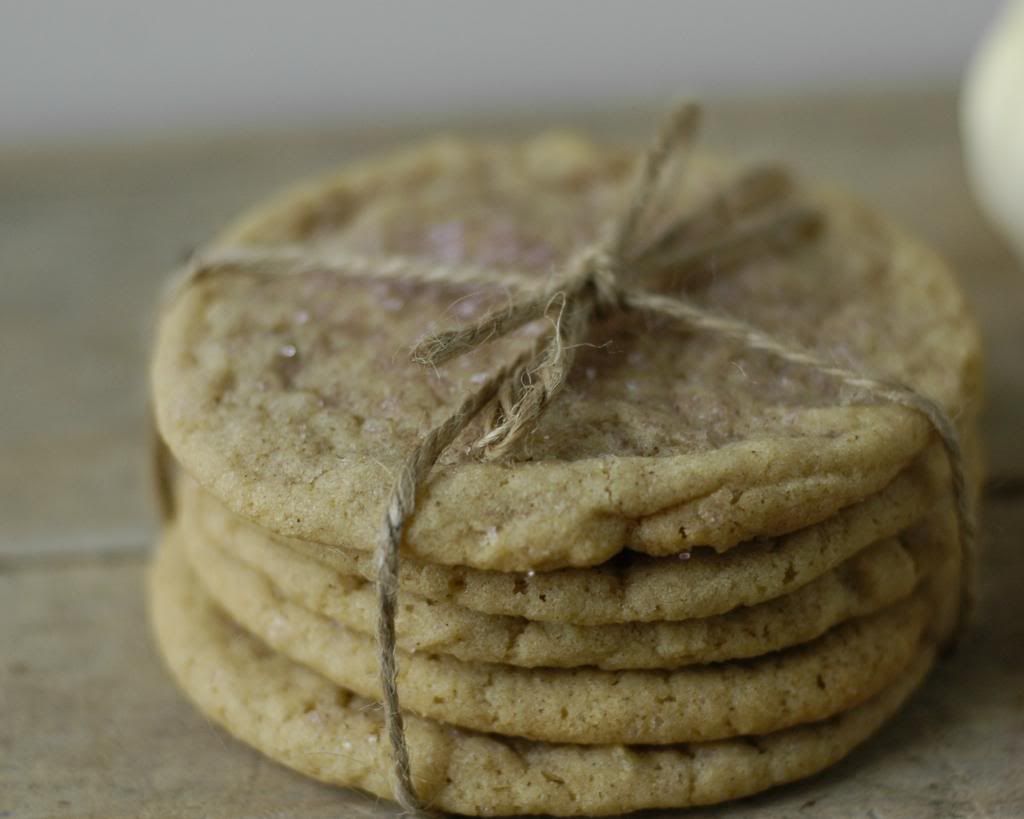
Old-fashioned sugar cookies with cinnamon and cloves
Before we talk about these sugar cookies, I just want to say that being a dog mom is tough. And being more obsessed with Arnold than he (sometimes) is with me makes for a lot of rejection. For reals.
Like yesterday, the hubs was watching the NBA opening season game and Arnold wasn't having any of it. I don't think he likes the whistles and the squeaking of the shoes on the court - so he goes upstairs. I go upstairs to cuddle him and he immediately goes back downstairs. I putter around for a bit and then head back downstairs. He gives me the stink eye from his dog bed and makes his way back upstairs. Total and utter rejection.
If he could talk, he would be telling me that my kisses and cuddles are embarrassing, and that for God's sake he is a dog with some dignity and can't I just respect that? Sigh.
Moving on from my night of rejection - let's talk old-fashioned sugar cookies.
I have always been more of a it has to have chocolate in it to be a good cookie kind of gal, but over time (ahem, as I've gotten older) I appreciate a nice sugar cookie now and then. I have a soft spot for sugar cookie cutouts, but these old-fashioned sugar cookies will please just about anyone.
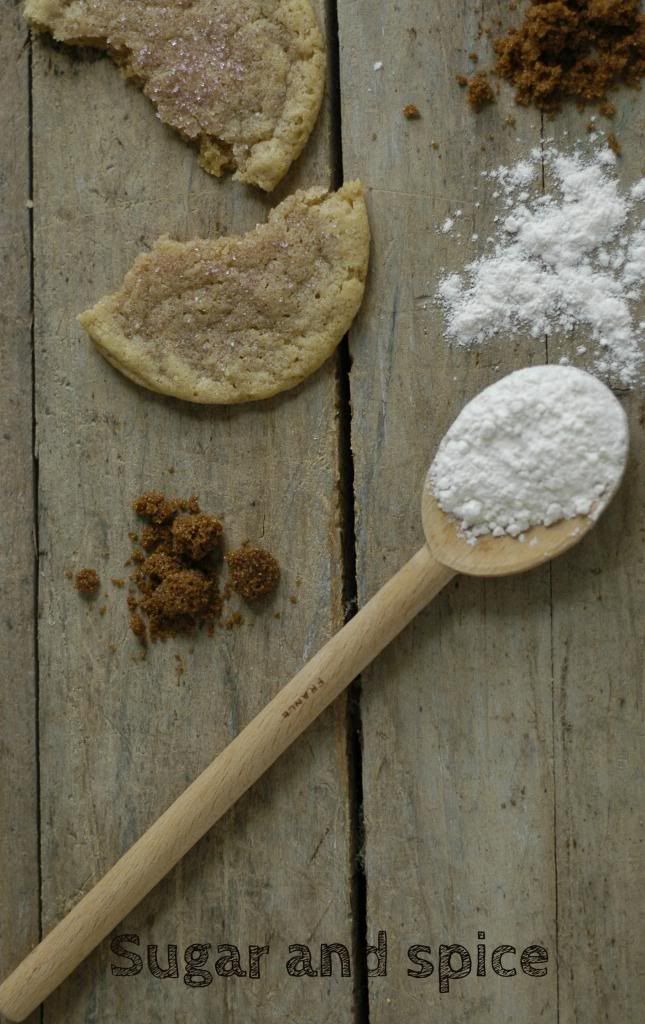
The original recipe calls for lemon zest, but that just seemed so three months ago (aka when leaves were still on the trees). So in the spirit of all that is fall and fabulous, I added cinnamon and cloves instead, and swapped out the light brown sugar for dark. The outcome was divine. A soft, chewy, flavor-packed cookie that you could easily eat A LOT of. There, you've been warned, and I cannot be held responsible if you eat the entire batch.
These cookies are perfect for fall and I am telling you that you need to go out and make them right now. You'll thank me, I promise!
Enjoy!
Oh, and Happy Halloween too of course!
xx
nina
You will need
3 cups all-purpose flour
1 teaspoon baking soda
1/4 teaspoon salt
1 3/4 cups granulated sugar
1/4 cup packed dark-brown sugar
1 teaspoon cinnamon
1/2 teaspoon ground cloves
1 cup unsalted butter, (2 sticks), softened
2 large eggs at room temperature
Sanding sugar, for sprinkling
Directions
Preheat oven to 350 degrees. Line two cookie sheets with parchment paper and set aside.
Sift together the flour, baking soda, and salt into a bowl and set aside.
Put the sugars, cinnamon and cloves in the bowl of an electric mixer fitted with the paddle attachment. Mix on medium speed until just combined.
Add the butter; mix until pale and fluffy, about 3 minutes. Mix in eggs, one at a time. Reduce speed t o stir and gradually add the flour mixture until just combined. The dough will be thick and you don't want to over mix!
Scoop the dough using a 2-inch ice cream scoop (or any size you choose depending on how big you want your cookies). Space accordingly. Flatten cookies slightly with a spatula or your palm and sprinkle with sanding sugar. Flatten ever so lightly again and sprinkle with more sugar.
Bake cookies until edges are golden, about 15 minutes. Let cool on sheets for 5 minutes and then transfer to a cooling rack.
Cookies can be stored in an airtight container at room temperature up to 3 days.
Eat and enjoy!
Adapted from Martha Stewart Cookies
October 28, 2012
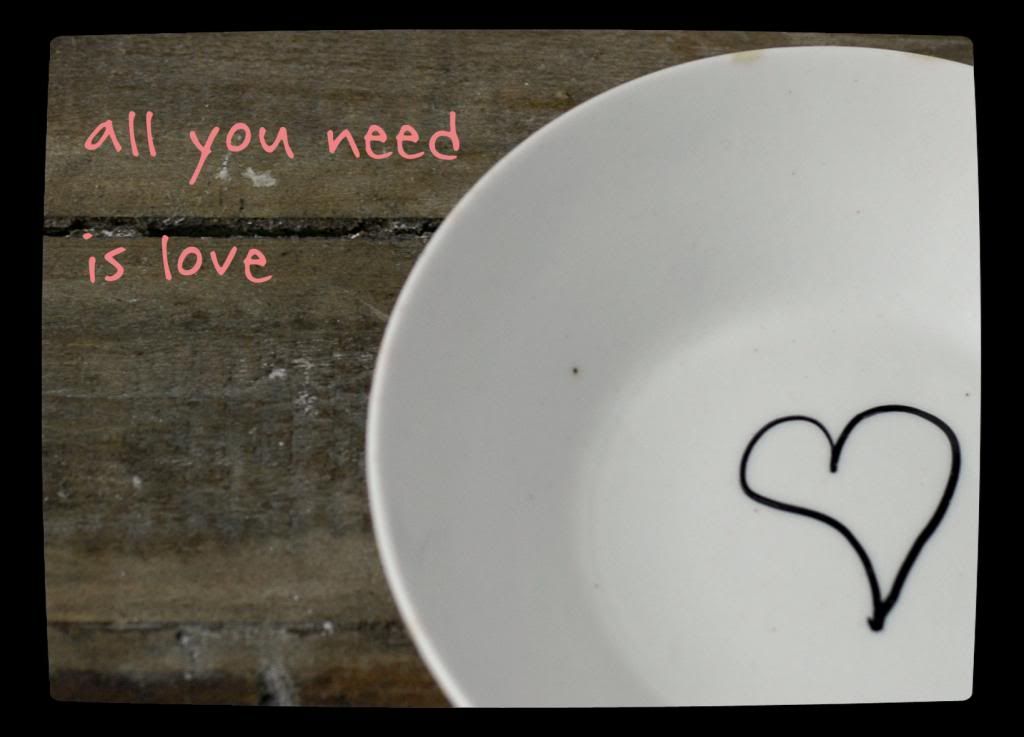
How to make Sharpie art on dishes
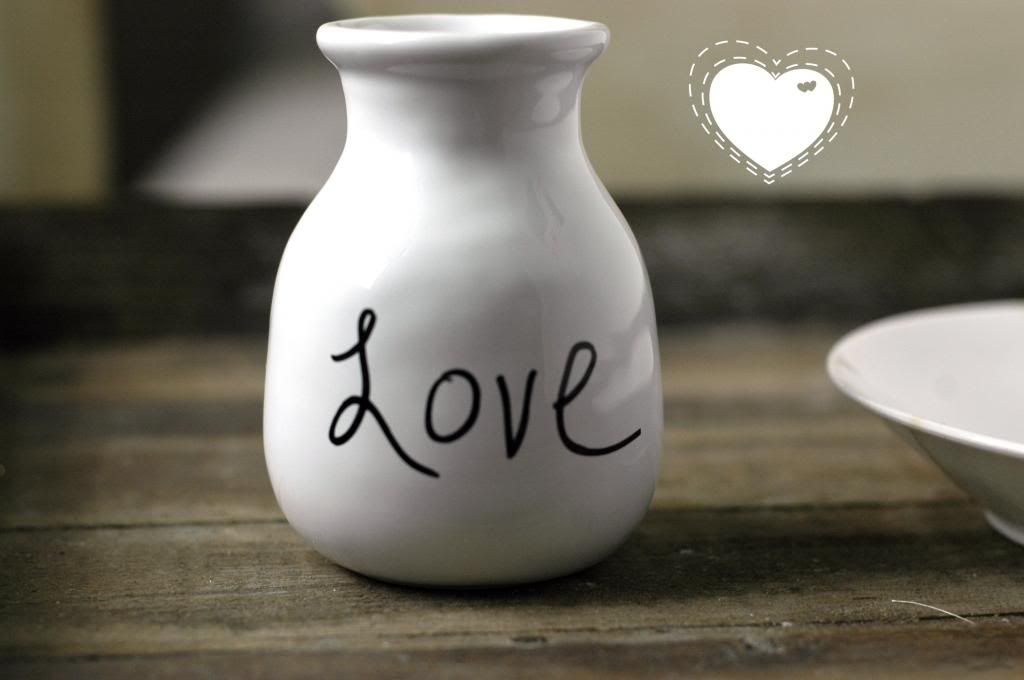
Sharpie art. Maybe you've seen it on Pinterest or around the blog world, maybe you haven't. Either way, it will change your life. The possibilities for crafts, projects and gifts are endless, and the cost is low too.
It's a flipping brilliant idea, and I have no idea why I didn't come across it sooner.
If you're not in the know, I will let you in on the Sharpie art secret. Are you ready? Here goes:
Step 1. Search around your house for dishes/trays/mugs that you'd like to get crafty with. Just make sure they're oven safe!
Step 2. Pick and buy (if you don't have any already) your Sharpie pens. The colors are endless and you totally have permission to go wild.
Step 3. Preheat oven to 350 degrees.
Step 4. Write or draw whatever you want on the dish of your choosing.
Step 5. Bake for 20 minutes and let cool completely before using. Your artwork will be permanent!
That's it! That's all there is to it. Amazing, right?
Now, I don't know if the Sharpie art will be dishwasher safe, so probably best to stick to hand washing for now unless proven otherwise.
For my little project, I used Sharpie paint pens instead of the regular markers. They were 40% off at Michaels, and they were great to use, but from what I have seen, regular Sharpies work just fine!
Now that you know how easy it is, go and make some Sharpie art!
Enjoy the rest of the weekend!
xx
nina
September 13, 2012
Back to blogging
I've been on a longgg hiatus. Maybe you've noticed? Maybe not and that's alright too. During this hiatus I've still been cooking, baking and basking in the glory that is food. But I just haven't been able to carve out the time it takes to take the "perfect" picture, or write about the perfect recipe. I've put so much pressure on myself to create the perfect blog, that the blogging part hasn't even happened....
So, with that being said, this is my official comeback. I know you're all ready to mark it down in your calendars! I've made a deal with myself that it's OK to not always have an amazing new oh my gosh you've got to try this recipe every time I want to blog, and that there are so many other things that I can blog about that relate to food, and community and the happiness that comes from kitchens that I most definitely would never run out of things to say. If you knew me in "real life," you would know that I don't often lack for words.
There are so many amazing food blogs out there, it's hard not to compare and stack yourself up against them, but that's not what this is about for me, so please, please stay tuned....
July 31, 2012
Cupcake Pops!
I know, I know. It's been awhile. The summer has turned into one giant activity - an endless array of beach days, parties, barbeques and all around fabulousness that I haven't been able to break free from! Fear not, as I have been busy in the kitchen and soon you will be so inundated with recipes that you will be sick and tired of hearing from me - I promise.

In the meantime, I leave you with cake pops from Bakerella. I made these for my brother in-law's engagement party and let me just say - they were a hit! The cake pops are a little time consuming to make, but the finished product was so adorable (and tasty!) I wouldn't hesitate to make them again.
You can find the recipe for the cake pops here.
I will be back soon! In the meantime, I hope you are all enjoying the summer!
xxx
nina
May 4, 2012
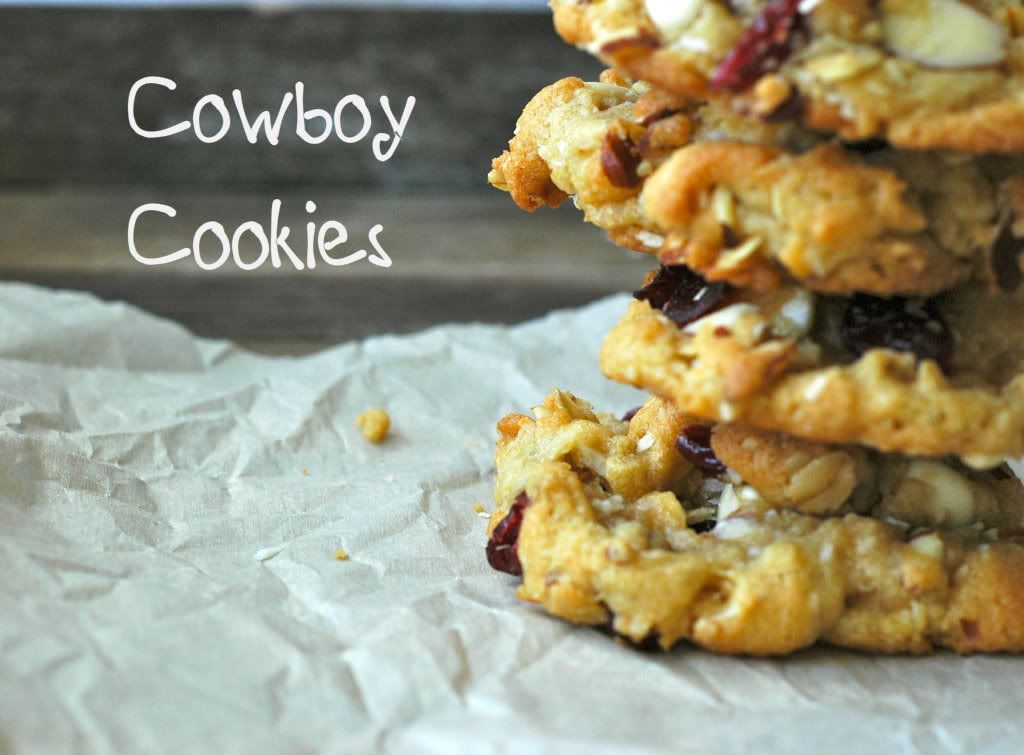
Cowboy Cookie Recipe
True story. I am
a recovering cowboy junkie. For a good portion of my young adult life, no one
was more in love with cowboys than me.
In college, I
had cowboy sheets. I think that they were meant for kids, but since
the dorm beds were twin size, it never occurred to me that I was being
completely ridiculous by buying them.
I LOVED them.
Wayyy into my
cowboy obsession, I discovered cowboy cookies. Um yeah. Whatever year that was,
I am pretty sure it was completely made by that cowboy cookie discovery. And
since then, I've had many a cookie, but never made my own.

I really
wanted to call these cowgirl cookies, but then I realized that no one would
know what the heck I was talking about. I discovered that there are a lot of
people out there who have never even heard of cowboy cookies, so why make it
more difficult for them to discover their scrumptiousness?
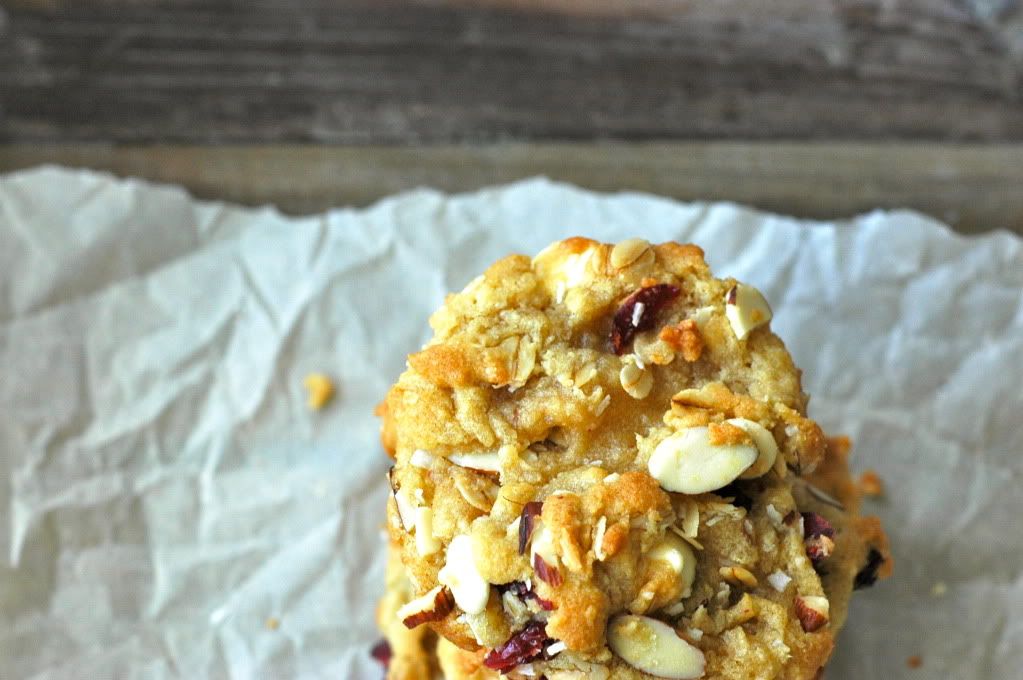
Let me just say. These
cookies are not for the faint of heart. They have a lot going on. I
used a basic chocolate chip cookie base that is my go-to, and then just loaded
those puppies up with goodness. The combination of the oats, coconut, almonds,
cranberries and white chocolate chips is intense. But it's so good.
I also highly
recommend mixing this cookie dough batter by hand - as in use your hands as the mixers. I
almost always mix cookie dough by hand, because I think that mixers tend to
over work the batter, which can result in a less than perfect cookie. Even if
you just use the hand method after the butter and sugars are mixed, that works
too and will make a big difference! Trust me on this.
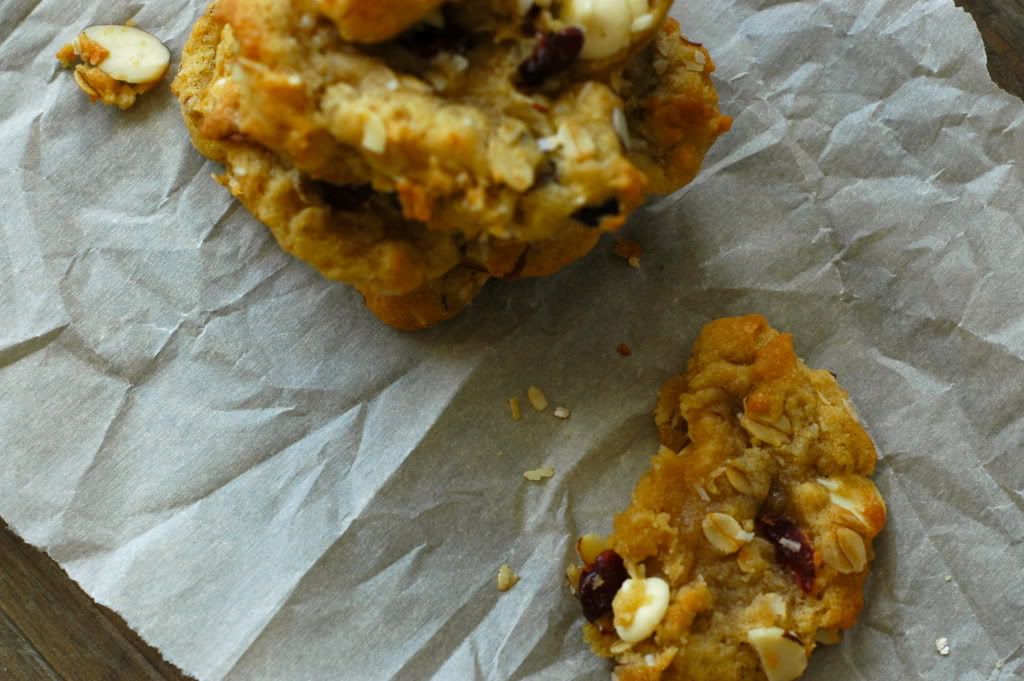
I think these
cookies actually tasted better the next day, after they were given a chance to
settle. Yes, I know that's something that houses do, but I am thinking it can
apply to cookies too. Makes sense, right?
Oh, and these
cookies are amazing with chocolate ice cream. Which I may or may not have had
for dinner dessert the past three nights.
This recipe
makes about 15 cookies
You will need:
½ (100 grams) cup granulated sugar
½ (120 grams) cup firmly packed
light brown sugar
1 stick unsalted butter (115 grams)
cold, and cut into small cubes
1 large egg at room temperature
1 tablespoon vanilla extract
Salt (table or sea salt, depending
on your preference)
½ teaspoon baking soda
1 and ¼ cups (200 grams) all-purpose
flour
1 cup white chocolate chips
¼ cup dried cranberries
¼ sliced almonds
1/3 cup oats
¼ cup coconut
Directions:
Preheat the oven to 300F (150C). If
you choose to, you can bake these cookies at 350 degrees, but watch them like a
hawk if you do!
Line two to three baking sheets
with parchment paper and set aside.
In a stand mixer, beat the sugars
and butters together until smooth. With your hands or a spoon, mix in the egg,
vanilla, and baking soda until just combined.
Stir together the flour, salt, coconut
and oats. Mix them into the batter until just combined (again using your hands
or a spoon).
Mix in the white chocolate chips
and sliced almonds.
Scoop two tablespoons of cookie
dough onto the cookie sheets, spacing them about four inches apart. Fill your
cookie sheets according to their size. Most standard sheets will fit about 8
cookie dough balls.
Bake for 10-12 minutes, or just
until the edges become golden brown. Remove from the oven and let sit on the
cookie sheet for a few more minutes where they will bake a little longer, and
then move them onto a cooling rack.
Eat and enjoy!
Cookie base
adapted from Smitten Kitchen